5. Photometry of science images
|
This constitutes the central part of the tutorial, where we perform the actual photometric reduction of our FS CMi science images. Preparing the Photometry dialog box Navigate to the Photometry menu and select Photometry to display the corresponding dialog box:
A detailed explanation of the contents of the Photometry dialog box is provided here. It is highly recommended to read that section for a comprehensive understanding.
With these configurations, your Photometry dialog box should mirror the one depicted above. Using the Photometry Settings and Report Settings Before initiating the photometry process, it is important to note that further options influencing the photometry can be accessed from the Photometry Settings dialog box. To reveal this box, navigate to the Photometry menu and select Photometry Settings.
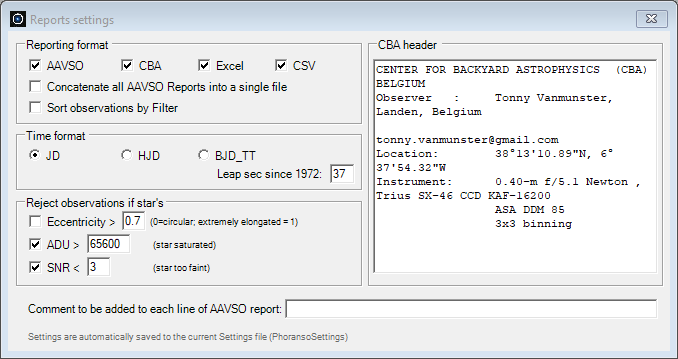
We recommend employing the above configuration. Each setting is explained in detail in this section. This configuration entails the selection of a ringset with a star aperture radius of 4 pixels, a gap radius of 6 pixels (measured from the star aperture radius) and a sky annulus radius of 8 pixels (measured from the gap radius). While experimenting with multiple ringsets is a possibility, such exploration goes beyond the scope of this tutorial. Now, let's delve into the Report Settings. Navigate to the Photometry menu and select Report Settings to display the corresponding dialog box. We propose the below configuration, indicating that we want to produce an AAVSO, CBA, Excel and CSV report with the photometric data of FS CMi. Detailed explanations for each setting can be found in this section.
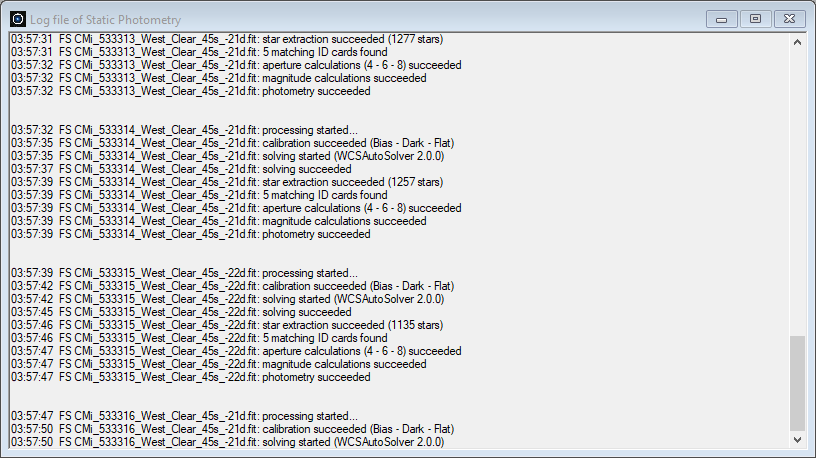
Starting the Photometric reduction of our FS CMi images With all configurations set, we are now ready to launch the photometry process using the Photometry dialog box. At the bottom of the box, you will find five buttons, which are explained in this section.
Proceed to step 6 of the tutorial. |


